. 2024 Feb:402:110016.
doi: 10.1016/j.jneumeth.2023.110016. Epub 2023 Nov 22.

Inserting a Neuropixels probe into awake monkey cortex: two probes, two methods

Affiliations

Inserting a Neuropixels probe into awake monkey cortex: two probes, two methods

Tomoyuki Namima et al. J Neurosci Methods. 2024 Feb.

Abstract

Background: Neuropixels probes have revolutionized neurophysiological studies in the rodent, but inserting these probes through the much thicker primate dura remains a challenge.

New methods: Here we describe two methods we have developed for the insertion of two types of Neuropixels probes acutely into the awake macaque monkey cortex. For the fine rodent probe (Neuropixels 1.0, IMEC), which is unable to pierce native primate dura, we developed a dural-eyelet method to insert the probe repeatedly without breakage. For the thicker short NHP probe (Neuropixels NP1010), we developed an artificial dura system to insert the probe.

Results and comparison with existing methods: We have now conducted successful experiments in 3 animals across 7 recording chambers with the procedures described here and have achieved recordings with similar yields over several months in each case.

Conclusion: We hope that our hardware, surgical preparation, methods for insertion and methods for removal of broken probe parts are of value to primate physiologists everywhere.

Keywords: Chronic recording chamber; High-density silicon probe; Multi-contact linear probes; Nonhuman primate neurophysiology.


Conflict of interest statement

Declaration of Competing Interest The authors declare that they have no competing interests.
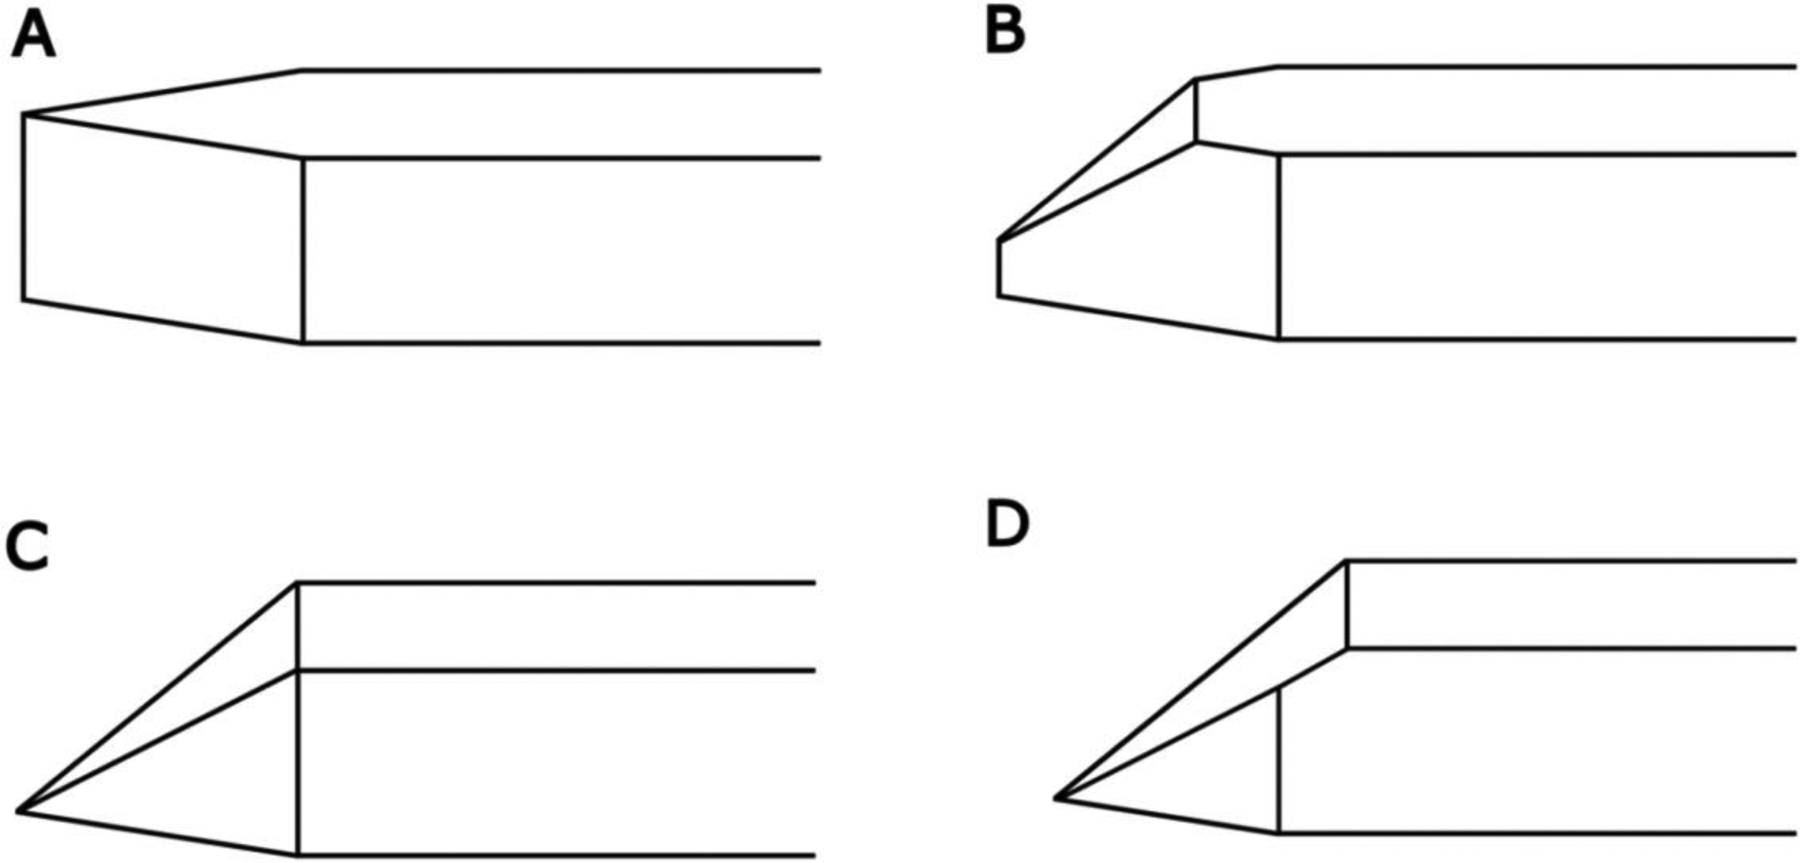
Figures

Figure 1.
Figure 1.. Artificial dura and chamber
A. Photograph of the artificial dura (AD) before surgical placement. Scale on pictured ruler is in cm. The AD is made much larger than necessary and is then cut to size during the surgery. B. Top down view of the AD chamber (not to scale). Our recording chambers have two parts: a low profile ring that is secured to the skull with titanium screws (pale gray) and a cylindrical chamber that is attached to the ring with screws (darker gray; see Figure 6 for side view). We first implant the ring and suture skin over it for healing. In a second surgery at least 6 weeks later, we perform a craniotomy and attach the recording chamber. The craniotomy is made as close to the edge of the chamber as possible using a piezo drill. Chamber inserts and caps are designed to provide a good seal. In a subsequent surgery, we perform a durotomy, at least 4 mm smaller in diameter than the craniotomy. The AD is tucked underneath the native dura and glue (Vetbond, 3M) is applied around the edges with a fine-tipped brush. The surface of the brain with blood vessels and sulci can be seen underneath the transparent AD for approximately 1–2 months post-durotomy until tissue grows back underneath.
Figure 2.
Figure 2.. Guide tube insertion parts.
A. An example of a short guide tube used in recording. The scale shown on the right is in millimeters. A 3.5 mm guide tube is shown with an epoxy blob (distal to the sharp tip). A 2 mm length of guide tube at the tip is clear of epoxy. B. Guide tube launcher assembly secured to the hydraulic microdrive (black). See Methods for details. C. Side and top view of the presser foot mounted on the chamber lid (silver disc) using an ultracompact micromanipulator (black).
Figure 3.
Figure 3.. Schematic of guide tube launcher set up and insertion procedure.
A. Preparation of the guide-tube launcher. The tungsten wire (red) was advanced out of the 23G tubing using the ultracompact micromanipulator and tweezers. Then, the short guide tube was mounted securely onto the tungsten wire with tweezers. The guide tube and tip of the guide-tube launcher were sterilized with Cidex OPA and rinsed with saline before insertion. When ready to insert, the presser foot was positioned against the dura encompassing the desired recording site (green oval). B. Inserting the guide tube. The entire guide tube launcher assembly was lowered using the hydraulic microdrive until the short guide tube pierced the dura and the epoxy blob was anchored against the dura. C. Releasing the guide tube from the tungsten wire. Using the ultracompact micromanipulator, the tungsten wire was retracted out of the short guide tube. D. Retracting the guide tube launcher. The guide tube launcher assembly was retracted using the hydraulic microdrive leaving the guide tube in the native dura. The guide tube launcher assembly was then removed from the hydraulic microdrive and replaced with a dovetail holder with the Neuropixels probe. E. Inserting the probe. Data acquisition cables were plugged into the probe headstage and the reference and ground were wired to the headpost. Then, the probe was finally inserted in the recording site through the dural eyelet. See Methods for more details.
Figure 4.
Figure 4.. NHP probe sharpening set up.
A. An NHP probe positioned in the Narishige grinder holder pre-sharpening. Probe contacts should be facing up during sharpening and the probe should be made as level as possible during this stage. B. An NHP probe during sharpening. The angle is set to 25° and the probe is lowered onto the surface of the grinder while the disk is slowly spinning before ramping up the speed to 50. The probe should be positioned on the grinding wheel so that the grinding wheel approaches the probe from shaft to tip as seen here.
Figure 5.
Figure 5.. NHP probe at various stages of sharpening.
A. Unsharpened NHP probe. The electrode contacts are located on the bottom (not visible) surface of the probe (note that these diagrams are flipped from how the probe would actually be positioned during sharpening, where probe contacts would be positioned upwards). B. Partially sharpened probe. This probe is not as sharp as it could be and further sharpening should be performed. C. Very sharp probe. Sharpening is complete at this stage, when all surfaces narrow to a single point. D. Overly sharpened probe. Sharpening was likely overdone and the probe might be broken at this stage.
Figure 6.
Figure 6.. Side view of the AD chamber during probe insertion.
The presser foot is lowered to apply gentle pressure on the AD and underlying cortex encompassing the desired recording site. In tall and narrow chambers, visualizing bending in the probe can be difficult due to limited lines of sight.
Figure 7.
Figure 7.. Cortical activity band obtained with rodent (A–C) or NHP probes (D–F).
Individual spikes (grayscale dots) are plotted as a function of recording time (X axis) along the probe depth (Y axis). The dot grayscale indicates relative amplitude of spike waveforms within a session, with darker dots indicating larger amplitudes. A. Driftmap for a recording session in V4 of Monkey Z with a rodent probe performed for over one hour. Y = 0 corresponds to the deepest recording contact in bank 0. B. Driftmap for a recording session in V4 cortex in the same recording chamber as in A (from Monkey Z), also with a rodent probe. Recording B was performed roughly one year after recording A (see dates) but the data yield was similar. C. Another example from a rodent probe recording in V2 with a short guide tube from Monkey F. Probe stabilization was not sufficient so spike waveforms can be seen drifting up away from the probe tip during the entire ~ 90 minute recording session, but the drift of spikes was small enough for Kilosort to successfully spike sort. D. Driftmap from a recording session in which an NHP probe was inserted into area V4 of Monkey F through native dura. Upon insertion, the probe was slightly retracted to gain better stabilization. This is an example of a recording session with minimal drift for the entire hour-long recording duration. E. Driftmap from a recording session with an NHP probe inserted in V4 of Monkey L through native dura approximately 2 weeks post-craniotomy. F. NHP probe recording from V4 of Monkey L through artificial dura approx. 2 months after the durotomy and AD placement surgery. In all panels, recording data for different experiments were concatenated post hoc. As a result, vertical banding patterns may be visible on the activity map, reflecting discontinuities of units across time. Driftmaps in A and B-F were created by applying ksDriftmap.m script (cortex-lab) to outputs of Kilosort2.5 and Kilosort 2.0, respectively.

Update of

References

    1. Barnett AC, Jones JA, Lee Y, and Moore JZ, 2016. Compliant Needle Vibration Cutting of Soft Tissue. J. Manuf. Sci. Eng November 2016; 138(11): 111011.
    1. Bauer DL, Pobiel B, Hilber K, Verma AK, Wang J, Vitek J, Johnson M, Johnson L, 2023. 3D printed guide tube system for acute Neuropixels probe recordings in non-human primates. J. Neural Eng May 11;20(3):036009. 10.1088/1741-2552/acd0d7 - DOI - PMC - PubMed
    1. Bigelow A, Kim T, Namima T, Bair W, Pasupathy A, 2023. Dissociation in neuronal encoding of object versus surface motion in the primate brain. Curr. Biol 33, 711–719.e5. 10.1016/j.cub.2023.01.016 - DOI - PMC - PubMed
    1. Ghestem A, Pompili MN, Dipper-Wawra M, Quilichini PP, Bernard C, Ferraris M, 2023. Long-term near-continuous recording with neuropixels probes in healthy and epileptic rats. bioRxiv 2023.02.16.528689; 10.1101/2023.02.16.528689 - DOI - PubMed
    1. Jackson N, Muthuswamy J, 2008. Artificial dural sealant that allows multiple penetrations of implantable brain probes. J Neurosci Methods 171(1):147–52 10.1016/j.jneumeth.2008.02.018 - DOI - PMC - PubMed

Publication types

LinkOut - more resources